
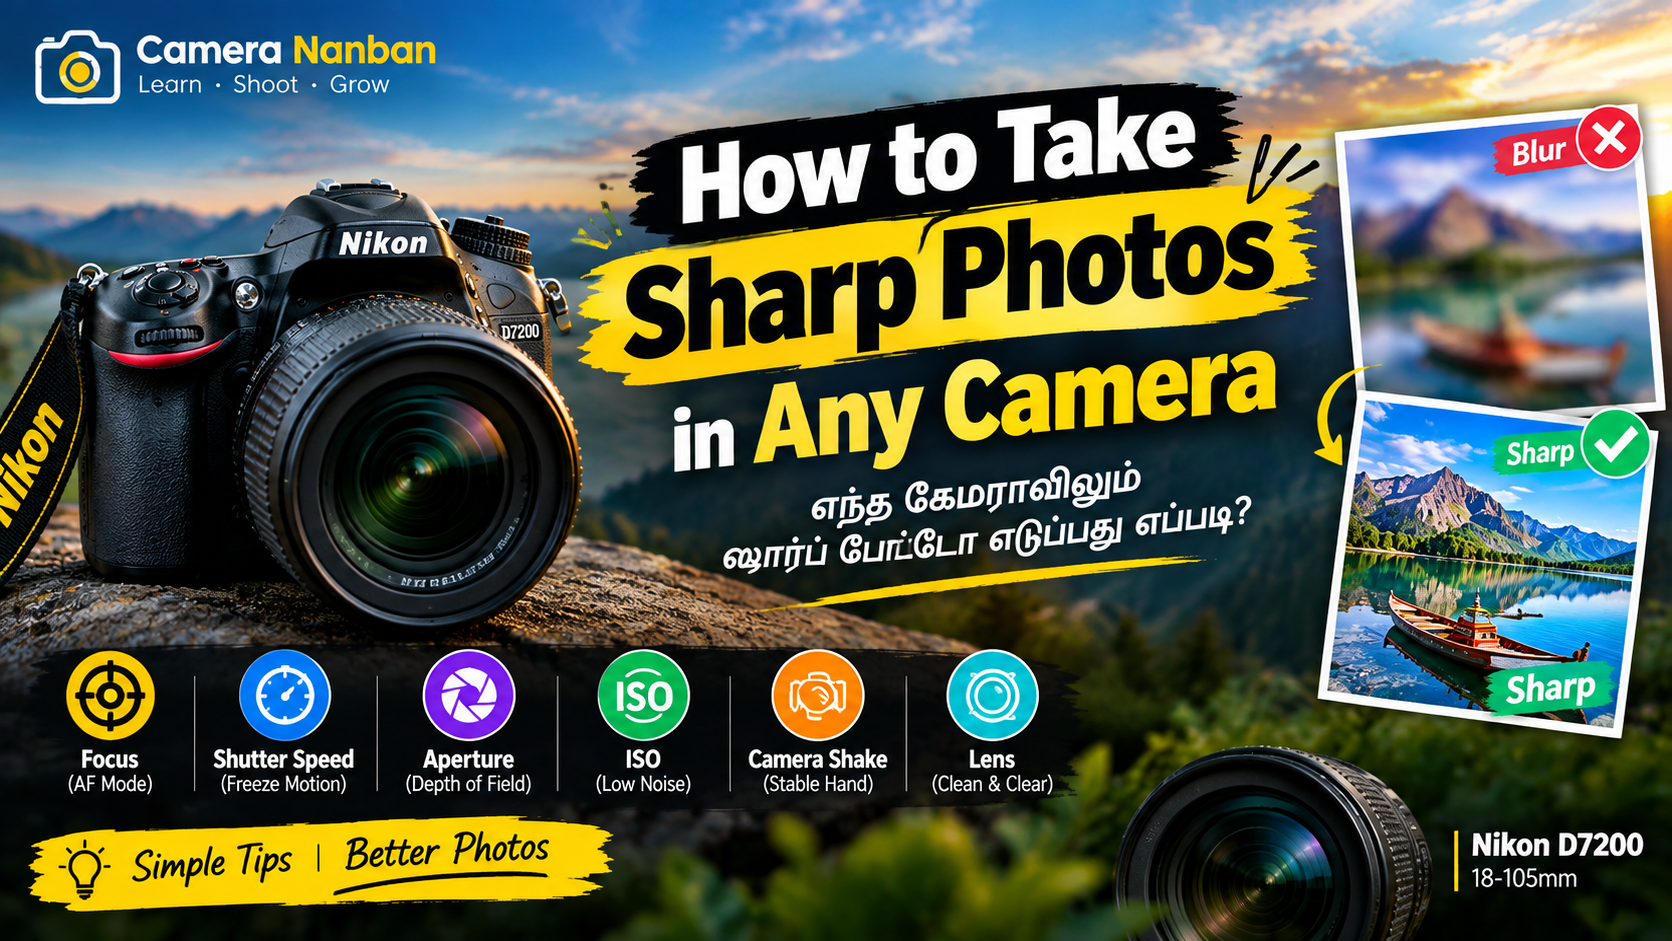
Camera எது இருந்தாலும் photo sharp-ஆ வரணும்னா camera megapixel மட்டும் போதாது. Correct focus, shutter speed, aperture, ISO, camera shake மற்றும் lens condition எல்லாமே முக்கியம்.
DSLR, mirrorless அல்லது compact camera எதுவாக இருந்தாலும் சில basic settings மற்றும் shooting techniques follow பண்ணினா sharp photos எடுக்க முடியும்.
இந்த article-ல் How to Take Sharp Photos in Any Camera என்பதற்கான practical tips-ஐ தமிழில் பார்க்கலாம்.
Sharp Photo என்றால் என்ன?
ஒரு photo-வில் முக்கியமான subject தெளிவாகவும், details blur இல்லாமலும் இருந்தால் அதை sharp photo என்று சொல்லலாம்.
உதாரணமாக portrait photo எடுக்கும்போது subject-ன் eyes sharp-ஆ focus ஆக இருக்க வேண்டும். Wedding photography-ல் bride மற்றும் groom movement-ல் இருந்தால் focus மற்றும் shutter speed சரியாக இருக்க வேண்டும்.
1. Correct Focus Point Select பண்ணுங்க
Sharp photo-க்கு first important thing focus.
Portrait எடுக்கும்போது:
- Single subject என்றால் subject-ன் eye மீது focus செய்யுங்கள்.
- Group photo என்றால் தேவையான அளவு aperture close செய்யுங்கள்.
- Moving subject என்றால் Continuous AF பயன்படுத்தலாம்.
- Static subject என்றால் Single AF பயன்படுத்தலாம்.
Focus தவறான இடத்தில் இருந்தால் photo எவ்வளவு high resolution-ஆ இருந்தாலும் sharp-ஆ தெரியாது.
2. Shutter Speed சரியாக வையுங்கள்
Camera shake மற்றும் subject movement காரணமாக photo blur ஆகலாம்.
General starting point:
- Static subject – 1/60 sec அல்லது அதற்கு மேல்
- Portrait – 1/125 sec
- Wedding candid – 1/250 sec அல்லது அதற்கு மேல்
- Fast movement – 1/500 sec அல்லது அதற்கு மேல்
உங்க subject எவ்வளவு வேகமாக move பண்றாங்க என்பதைப் பொறுத்து shutter speed increase பண்ணலாம்.
Internal Link:
👉 Shutter Speed என்றால் என்ன?
3. Camera Shake-ஐ Control பண்ணுங்கள்
நீங்க correct focus பண்ணியிருந்தாலும் camera shake இருந்தால் photo soft அல்லது blur ஆகலாம்.
Camera-வை இரண்டு கைகளாலும் பிடித்து:
- Elbows body-க்கு அருகில் வைத்துக்கொள்ளுங்கள்.
- Shutter press செய்யும்போது camera-வை jerk பண்ணாதீங்க.
- Low shutter speed-ல் tripod பயன்படுத்துங்கள்.
- Long lens பயன்படுத்தும்போது extra stability கவனியுங்கள்.
4. Aperture சரியாக Choose பண்ணுங்கள்
Aperture photo sharpness மற்றும் depth of field-ஐ பாதிக்கும்.
உதாரணமாக:
f/1.8 – f/2.8
- Background blur அதிகம்
- Portrait-க்கு useful
- ஆனால் focus தவற வாய்ப்பு அதிகம்
f/4 – f/5.6
- Portrait மற்றும் general photography-க்கு useful
f/8 – f/11
- Group photo, landscape போன்றவற்றுக்கு useful
ஒவ்வொரு lens-க்கும் optimum sharpness aperture வேறுபடலாம்.
Internal Link:
👉 Aperture என்றால் என்ன?
5. ISO தேவையான அளவு மட்டும் Increase பண்ணுங்கள்
Low light-ல் ISO அதிகமாக increase செய்தால் image noise அதிகரிக்கலாம்.
ஆனால் ISO குறைவாக வைத்துக்கொள்ள வேண்டும் என்பதற்காக shutter speed-ஐ மிகவும் slow பண்ணினால் camera shake அல்லது subject movement blur வரலாம்.
அதனால் practical photography-ல்:
Sharp photo > unnecessarily low ISO
தேவையான shutter speed maintain பண்ணுவதற்காக ISO increase செய்வது சில சூழ்நிலைகளில் better choice.
6. நல்ல Light இருந்தால் Sharpness Improve ஆகும்
Good lighting இருந்தால் camera:
- Faster shutter speed பயன்படுத்த முடியும்
- Lower ISO பயன்படுத்த முடியும்
- Better autofocus performance கிடைக்கலாம்
அதனால் available light-ஐ சரியாக பயன்படுத்துவது sharp photos எடுக்க உதவும்.
7. Lens Clean-ஆ வைத்துக்கொள்ளுங்கள்
Lens front element-ல்:
- Fingerprint
- Dust
- Oil
- Water marks
இருந்தால் image contrast மற்றும் clarity பாதிக்கப்படலாம்.
Microfiber lens cloth பயன்படுத்தி lens-ஐ clean பண்ணுங்கள்.
Lens-ஐ clean பண்ணும்போது rough cloth அல்லது shirt பயன்படுத்துவதை avoid பண்ணுவது நல்லது.
8. Image Stabilization இருந்தால் பயன்படுத்துங்கள்
சில lenses-ல் VR, IS, OSS போன்ற image stabilization systems இருக்கும்.
Static subjects மற்றும் handheld shooting-ல் இது camera shake-ஐ குறைக்க உதவும்.
ஆனால் image stabilization subject movement-ஐ freeze செய்யாது.
உதாரணமாக person fast-ஆ ஓடிக்கொண்டிருந்தால் VR ON இருந்தாலும் shutter speed slow என்றால் subject blur வரலாம்.
9. Moving Subject-க்கு Continuous Autofocus
Wedding photography, sports photography மற்றும் candid photography-ல் subject movement இருக்கும்.
அந்த நேரத்தில் camera-வின் Continuous AF mode useful.
Nikon cameras-ல் AF-C போன்ற mode moving subjects-க்கு பயன்படுத்தலாம்.
Focus point subject-ஐ follow பண்ணும் வகையில் சரியான AF-area mode தேர்வு செய்வதும் முக்கியம்.
10. Burst Mode பயன்படுத்தலாம்
ஒரு important moment-ஐ single shot-ஆ மட்டும் capture பண்ணாமல் burst shooting பயன்படுத்தினால் பல frames கிடைக்கும்.
Wedding photography-ல்:
- Bride/Groom walking
- Ring exchange
- Candid reactions
- Group reactions
- Dance moments
போன்ற situations-ல் burst mode useful.
அதில் இருந்து best sharp frame-ஐ select பண்ணலாம்.
11. Flash பயன்படுத்தும்போது Sharp Photos
Low-light wedding photography-ல் flash பயன்படுத்தும்போது shutter speed, aperture மற்றும் ISO balance முக்கியம்.
Flash subject movement-ஐ freeze செய்ய உதவலாம். ஆனால் camera settings completely wrong-ஆ இருந்தால் background dark அல்லது image exposure problem வரலாம்.
ஒரு starting point:
Shutter: 1/160–1/200 sec
Aperture: f/2.8–f/5.6
ISO: தேவையான அளவு
Flash: Subject distance-க்கு ஏற்ப power adjust செய்யலாம்.
இது fixed rule கிடையாது. Venue lighting மற்றும் flash setup-க்கு ஏற்ப settings மாற்ற வேண்டும்.
12. RAW Format-ல் Shoot பண்ணுங்கள்
Important photography work என்றால் RAW format useful.
RAW file-ல் அதிக editing flexibility இருக்கும்.
Lightroom அல்லது Photoshop-ல்:
- Exposure
- Shadows
- Highlights
- White Balance
- Sharpness
- Noise Reduction
போன்ற adjustments செய்ய முடியும்.
ஆனால் ஒரு முக்கியமான point:
Bad focus-ஐ editing மூலம் perfect focus-ஆ மாற்ற முடியாது.
அதனால் shooting time-லேயே correct focus முக்கியம்.
13. Digital Zoom Avoid பண்ணுங்கள்
Digital zoom பயன்படுத்தும்போது image quality மற்றும் detail குறையலாம்.
Optical zoom அல்லது proper lens focal length பயன்படுத்துவது better.
Photo எடுக்கும்போது subject-க்கு தேவையான composition கிடைக்க lens focal length-ஐ சரியாக தேர்வு செய்யுங்கள்.
14. Tripod எப்போது பயன்படுத்தலாம்?
Tripod useful ஆக இருக்கும்:
- Landscape
- Night photography
- Product photography
- Architecture
- Real estate photography
- Long exposure
போன்ற situations-ல்.
Handheld-ல் எடுக்க வேண்டிய wedding candid போன்ற photography-க்கு tripod practical ஆக இருக்காது.
என் Nikon D7200 Experience – Wedding Photography
நான் Nikon D7200 வைத்து wedding photography மற்றும் candid shots எடுக்கும்போது கவனித்த practical விஷயம் ஒன்று:
Moving subjects இருக்கும் wedding candid shots-ல் 1/250 sec அல்லது அதற்கு மேல் shutter speed வைத்தால் subject movement காரணமாக வரும் blur குறைக்க முடிகிறது.
Low-light situation-ல் shutter speed-ஐ மிகவும் slow பண்ணுவதற்குப் பதிலாக, தேவையான அளவு ISO increase பண்ணி shutter speed-ஐ maintain பண்ணுவது எனக்கு practical-ஆ இருந்திருக்கிறது.
உதாரணமாக bride/groom walking, candid reactions அல்லது fast movements இருக்கும் போது:
Shutter Speed → 1/250 sec+
என்று வைத்துக்கொண்டு, lighting-க்கு ஏற்ப aperture மற்றும் ISO adjust பண்ணுவது useful.
இது எல்லா camera-க்கும் ஒரே fixed setting கிடையாது. Venue lighting, lens, subject movement மற்றும் flash பயன்படுத்துகிறோமா என்பதற்கு ஏற்ப settings மாற்ற வேண்டும்.
என்னுடைய Nikon D7200 + 18-105mm lens setup-ல் wedding shooting செய்யும்போது இந்த approach எனக்கு useful-ஆ இருந்திருக்கிறது.
Sharp Photo எடுக்க Quick Settings
Portrait
- Shutter: 1/125–1/250
- Aperture: f/2.8–f/4
- ISO: Light-க்கு ஏற்ப
- AF: Single/appropriate AF mode
Wedding Candid
- Shutter: 1/250 sec அல்லது அதற்கு மேல்
- Aperture: f/2.8–f/5.6
- ISO: தேவையான அளவு
- AF-C useful
Group Photo
- Shutter: 1/125 sec+
- Aperture: f/5.6–f/8
- ISO: Light-க்கு ஏற்ப
- Focus: Group-ன் சரியான பகுதியில்
Night Photography
- Tripod
- Low ISO where practical
- Aperture: Scene-க்கு ஏற்ப
- Slow shutter when subject is static
Sharp Photo வராமல் இருப்பதற்கான Common Mistakes
1. Shutter Speed மிகவும் slow
Subject movement அல்லது camera shake காரணமாக blur வரும்.
2. Focus தவறான இடத்தில்
Portrait-ல் eyes-க்கு பதிலாக background focus ஆகலாம்.
3. Aperture மிகவும் wide
f/1.4 அல்லது f/1.8 போன்ற aperture-ல் depth of field குறைவாக இருக்கும். Focus accuracy மிகவும் முக்கியம்.
4. ISO மிகவும் அதிகம்
Noise அதிகரித்து fine details குறையலாம்.
5. Dirty Lens
Dust அல்லது fingerprints காரணமாக image clarity பாதிக்கலாம்.
6. Photo-வை அதிகமாக edit செய்வது
Over-sharpening மற்றும் excessive noise reduction photo-வை unnatural ஆக மாற்றலாம்.
Sharp Photo Troubleshooting Checklist
Photo blur ஆக இருந்தால் இந்த checklist-ஐ check பண்ணுங்கள்:
☑ Focus correct-ஆ இருக்கா?
☑ Shutter speed போதுமானதா?
☑ Camera shake இருக்கா?
☑ Subject movement இருக்கா?
☑ Aperture சரியா?
☑ ISO அதிகமா?
☑ Lens clean-ஆ இருக்கா?
☑ AF mode சரியா?
☑ Lens stabilization இருந்தால் சரியாக use பண்ணுறீங்களா?
☑ Photo-வை அதிகமாக crop பண்ணிட்டீங்களா?
FAQ
Camera expensive-ஆ இருந்தால்தான் sharp photo கிடைக்குமா?
இல்லை. Camera performance முக்கியம் என்றாலும் focus, shutter speed, lens, lighting மற்றும் shooting technique மிகவும் முக்கியம்.
High ISO பயன்படுத்தினால் photo blur ஆகுமா?
High ISO நேரடியாக blur உருவாக்காது. ஆனால் ISO அதிகரிப்பதால் noise அதிகரிக்கலாம். தேவையான shutter speed maintain பண்ண ISO increase செய்வது சில low-light situations-ல் useful.
Image Stabilization இருந்தால் tripod தேவையில்லையா?
அப்படி இல்லை. Long exposure மற்றும் static subjects-க்கு tripod இன்னும் useful.
Photoshop-ல் blurry photo-வை sharp பண்ண முடியுமா?
சில அளவுக்கு sharpening மூலம் image appearance improve செய்யலாம். ஆனால் completely out-of-focus photo-வை editing மூலம் original sharpness-க்கு கொண்டு வர முடியாது.
Conclusion
How to Take Sharp Photos in Any Camera என்றால் expensive camera வாங்குவது மட்டும் answer கிடையாது.
Correct focus, suitable shutter speed, proper aperture, controlled ISO, good lighting மற்றும் steady camera handling ஆகியவற்றை சரியாக பயன்படுத்தினால் எந்த camera-விலும் நல்ல sharp photos எடுக்க முடியும்.
Especially wedding photography-ல் moment + focus + shutter speed மூன்றும் மிகவும் முக்கியம்.
உங்க camera-வை தொடர்ந்து பயன்படுத்தி, different lighting conditions-ல் settings test பண்ணுவது தான் sharp photos improve பண்ணுவதற்கான best practice.
Related Photography Articles
- Aperture என்றால் என்ன?
- Shutter Speed என்றால் என்ன?
- ISO என்றால் என்ன?
- Wedding Photography Tips
- Camera Lens Fungus Prevention Tips
- Photoshop Photography Editing Tips